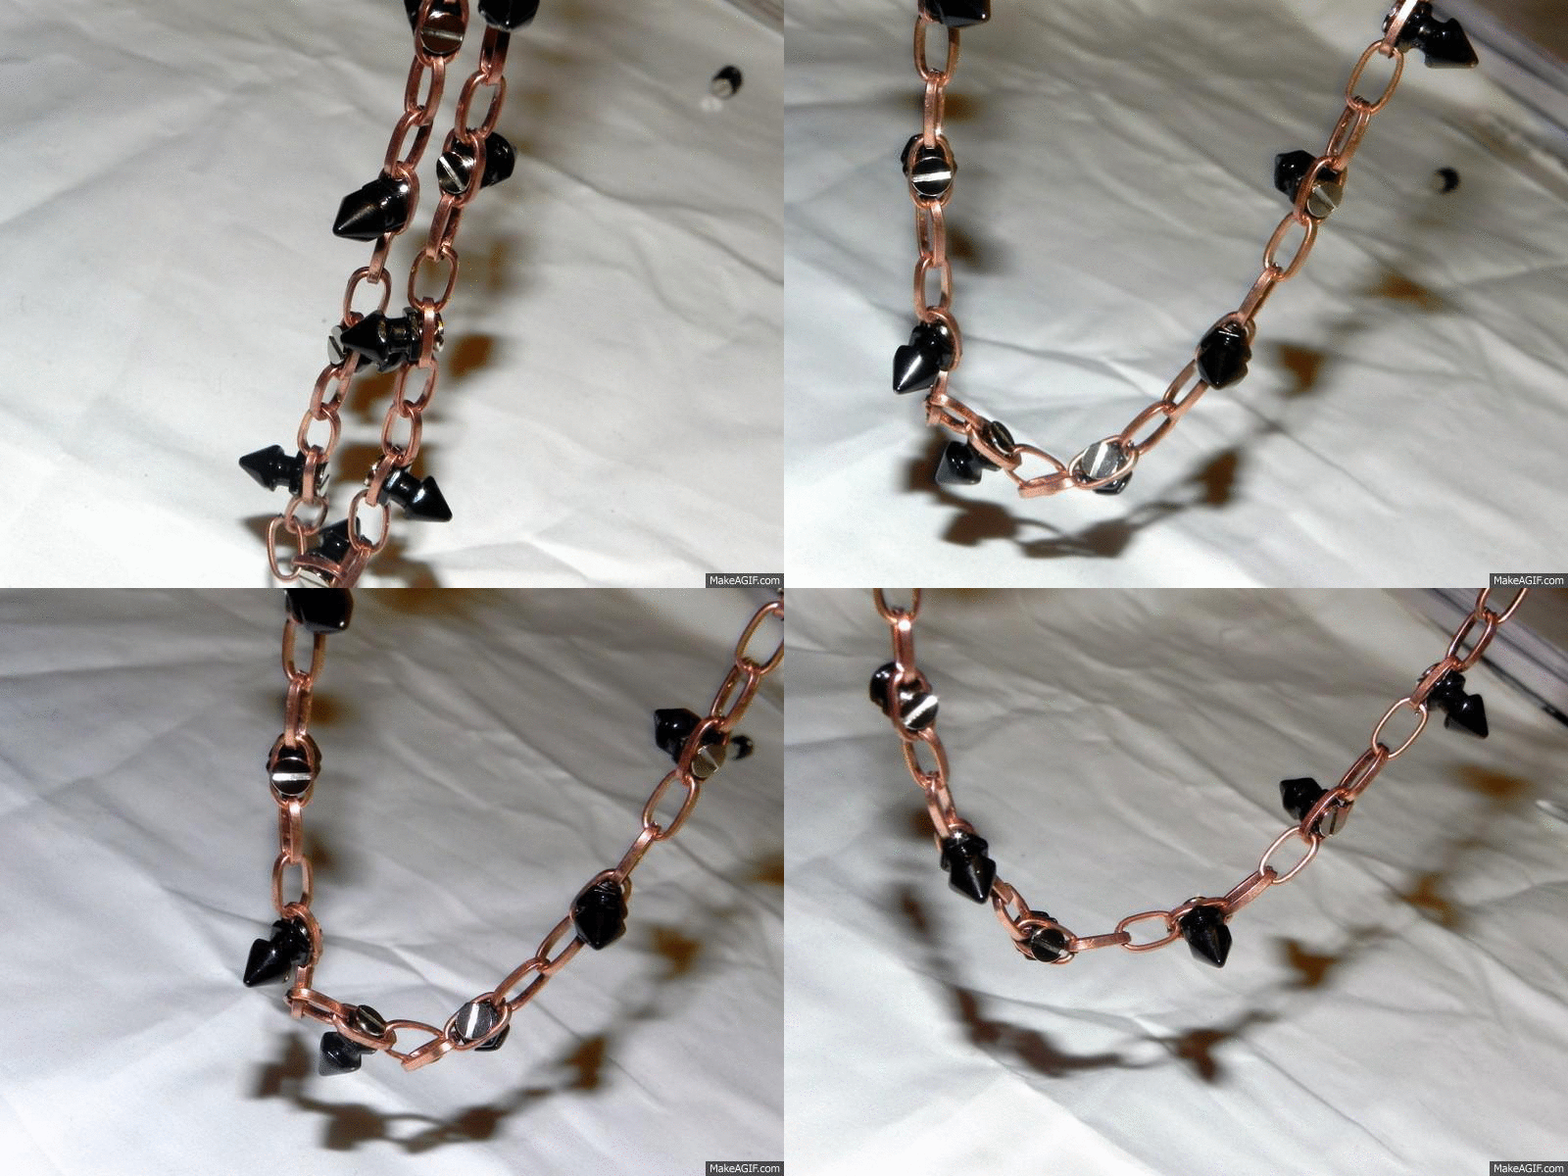
Happy Tuesday, lovelies! Today's DIY is inspired by this gorgeous Joomi Lim spiked necklace. It's stunning, isn't it? But it's a bit too expensive for my liking. So, I raided my supplies and found I had a similar chain to use, and ordered the studs from M&J Trimming. {How to after the jump}
You'll need:
- 18" of 10mm copper small oval link chain (mine came with a clasp already attached, if yours doesn't, make sure to add a jump ring to either end and a clasp of your choosing) {similar}
- 3/8" tiny shiny black spikes
- Loctite super glue
- Small screwdriver (to fit the screws of the spikes)
Find the middle of the chain. Unscrew the screws from the spikes, and separate them.
Insert a screw through the middle link of the chain. Add a tiny bit of Loctite to the inside of the spike, then screw it on. Screw it on tight, but not too tight so as to squeeze the link too tight that it opens (you'll see what I mean if you do it!) Screw it tight enough that the spike doesn't move around.
Determine where you want your other spikes to go.
Attach them in a similar manner. I alternated every third link from the center one, and alternated direction. You could do them all next to one another (I kind of want to get a few more packs of spikes so that I can) like the inspiration piece, or leave them spread out, the design is up to you!

And there she is! You could do any color combination you'd like, I found this was the closest to the rose gold and hematite I initially saw and liked. All in all, this cost me the $9 for the spikes. I technically had everything else on hand, but the chain would run you about $3, and assuming you have some Loctite on hand (you really should have some in your arsenal if you don't!) your total out of pocket would be $12 - a $163 savings... not too shabby, huh?
Is this something you'd make? What are your thoughts?
xx
Lia


This turned out really well - nice work!
ReplyDelete